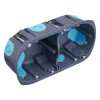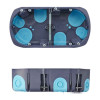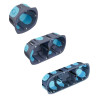


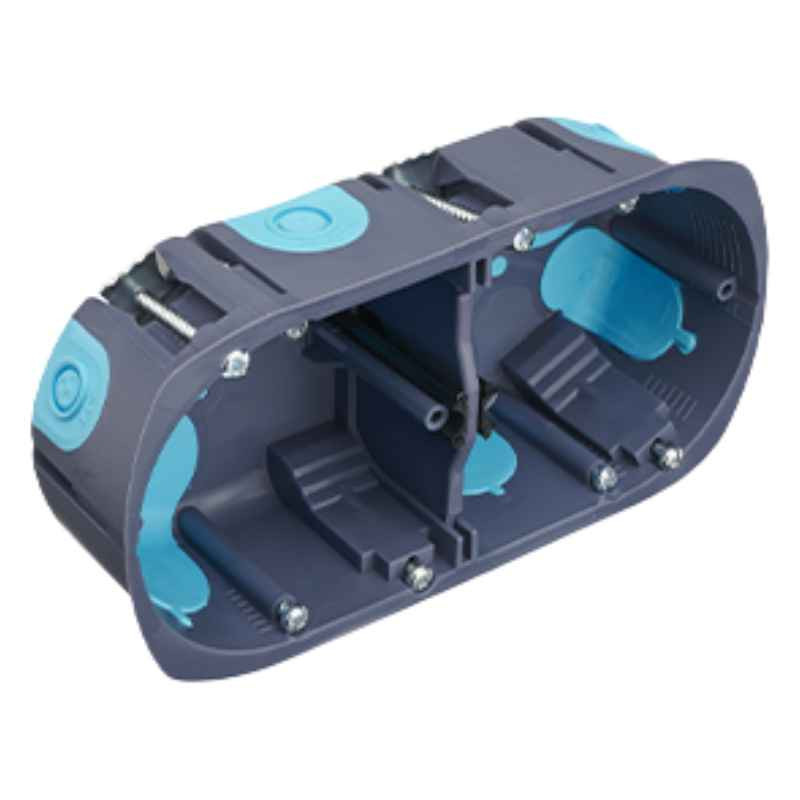
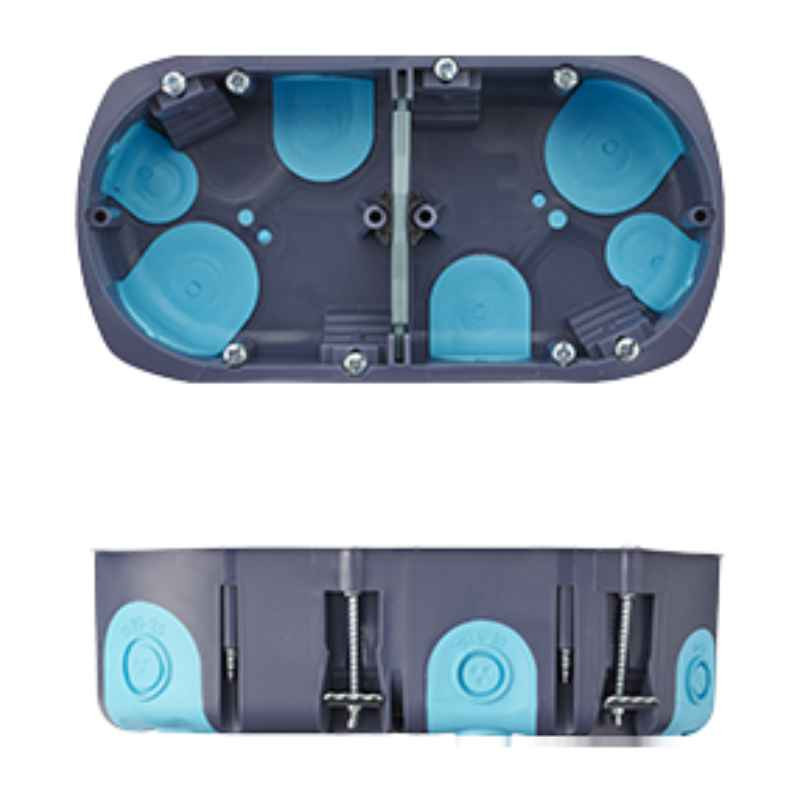
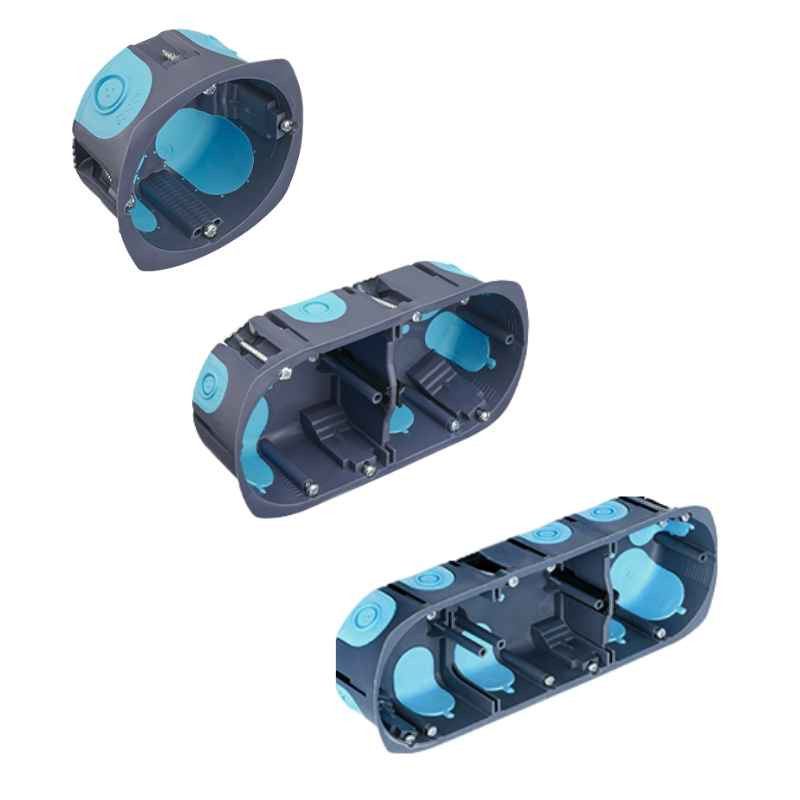

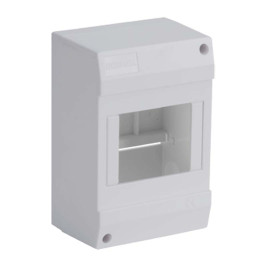
Airtight flush-mounting box with 1, 2 or 3 gang(s) according to your needs. Essential for any electrical installation planned with connection to 230V domestic current in a converted vehicle. This flush-mounting box guarantees perfect insulation and airtightness, it adapts to environments requiring increased protection against humidity and air infiltration.
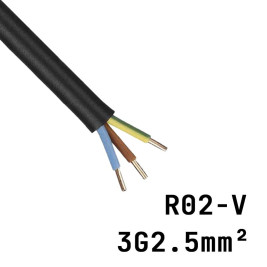
A single, double or triple flush-mounting box allows you to fix and protect sockets or switches inside a partition. Leave sufficient space for embedding the box between your insulation and your interior cladding in your utility vehicle so that it does not touch your insulation! Your R02-V 3G2.5mm² electrical cable must also be able to pass through.
A flush-mounting box, regardless of its number of gangs, serves to protect the conductors from the conduit to the mechanism specific to the socket or switch. This ensures a secure connection within your electrical installation.
To install a flush-mounting box in your converted van, first ensure sufficient spacing between your insulation and your cladding covered with stretch felt or not. Before starting, equip yourself with a spirit level, a pencil, a 67mm diameter hole saw and a single or multi-gang flush-mounting box.
Step 1: For your safety, ensure that no electrical equipment is switched on (turn off the power at the circuit breaker). Determine the location of the flush-mounting box and mark its position using a pencil or marker.
Step 2: Drill the location of the flush-mounting box on your cladding using the hole saw on your drill chuck.
Step 3: Block an elastomer membrane (electrical conduit passage) present in one of the corners of the flush-mounting box. Pass your R02-V 3G2.5mm² electrical cable through it.
Step 4: Position the flush-mounting box so that its metal brackets are at the top and bottom when positioning it, then insert it neatly into your cladding. Check with a spirit level that the flush-mounting box is horizontal according to its fixing screws. Then adjust the position of the box if necessary.
Step 5: Once installed, all you have to do is connect the conductors of the R02-V 3G2.5mm² electrical wire to the mechanism of your socket.
An airtight flush-mounting box protects the electrical conductors connected to a socket or switch from air infiltration and humidity. Moreover, it offers a clean and tidy finish by concealing the cable(s) and facilitating the installation of equipment.










| Carrier | Information | Delivery |
|---|---|---|

|
48/72h to a collection point | |

|
48/72h with scheduled delivery | |

|
24h after order (except made-to-order products) - 10 Chemin du Gué 42700 Firminy |